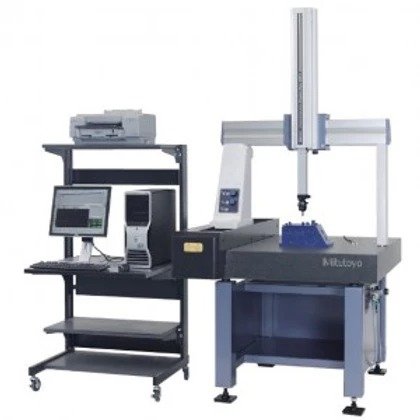
We have just installed a Mitutoyo QM353 manual Co-Ordinate measuring machine, complemented by Inspect 3D software. Working area 500mm x 300mm x 300mm.
The Mitutoyo will work alongside our Brown & Sharpe Scirroco CNC Coordinate Measuring Machine, complemented by PCDMIS Software including CAD++, a Renishaw Motorised Probe and a working area of 2000mm x 1000mm x 900mm.
The PCDMIS Software is able to accept customer 3D Solid Models directly transferred over our Network link.

